Food probe — measuring the core temperature of a dish step by step
Measuring food core temperature step by step: where to insert the probe, how long to wait, which limits to apply and how to close the HACCP record.
Zespół Nextriv4 min read

Core temperature measurement is the moment of truth of every heat treatment: a golden crust and steam over the tray say nothing about what's happening in the thickest part of the roast. And that's exactly where — in the core — it's decided whether a dish is safe or just looks good. In most HACCP plans heat treatment is a critical control point, and the only proof of its effectiveness is a probe measurement in the core of the product, done correctly and recorded. Below is the whole procedure step by step: where to insert the probe, how long to wait, which limits to apply and what a handheld thermometer will never take care of.
Why the core, not the surface
Heat penetrates food from the outside, so the surface reaches a safe temperature long before the interior does — the thicker the piece, the bigger the difference. Microorganisms are only killed once the coldest point of the product — the geometric centre of its thickest part — reaches the right temperature. In food service practice, around 75 °C in the core is widely accepted as the value that eliminates vegetative forms of microorganisms; some procedures allow lower temperatures held for a longer time. The limits written into your own HACCP plan always take precedence — they are the critical limit you compare the reading against.
The other side of the same coin is the danger zone, conventionally 5–60 °C, in which microorganisms multiply fastest. The core measurement closes the cooking step, but the dish comes back into play during cooling and hot-holding — which is why the measurement procedure always works hand in hand with supervision of the critical control points of the whole process.
Measuring core temperature step by step
The measurement itself takes a dozen or so seconds — the mistakes are made before and after it. A procedure that holds up at every inspection:
- Prepare the probe. A clean, disinfected tip (ready-made disinfectant wipes at the station cut this step to a few seconds) — a probe inserted into a finished dish must not carry anything over from the previous measurement.
- Choose the insertion point. The thickest part of the product, down to the geometric centre. Avoid bone, large pockets of fat and hollow cavities — they conduct heat differently from meat and skew the reading. In liquid dishes, stir before measuring and measure in the middle of the volume, not at the bottom or against the side of the vessel.
- Wait for stabilisation. The reading must settle — a few to a dozen or so seconds depending on the instrument. A value "in flight" isn't a measurement, it's a guess.
- Compare against the limit. You check the result against the value in your HACCP plan (typically ≥ 75 °C in the core). For dishes in multiple containers or large batches, measure more than one item — the thickest one and the one from the coldest spot of the oven.
- React when it falls short. A result below the limit means further cooking and another measurement after a few minutes — never "by eye". Only a reading above the limit closes the step.
- Record the result. Date, time, dish, reading, signature — the core measurement record is your proof of CCP supervision. It's also worth periodically checking the thermometer itself (the classic: melting ice, ~0 °C) and noting those checks down.

How often to record is set by the HACCP plan — in practice every batch leaving heat treatment is measured, and hot-held dishes additionally at the intervals defined in the procedure. What matters is that the record is created at the moment of measurement: a log filled in from memory in the evening is something an inspector recognises at first glance.
What a handheld probe won't take care of
Manual measurement has one fundamental flaw: it shows a single moment. Cooking genuinely needs a person with a thermometer, but most of the chain — refrigerated storage, the freezer, cooling, hot-holding — consists of continuous processes in which a spot reading three times a day leaves hours-long windows with no supervision. Those points should report by themselves.
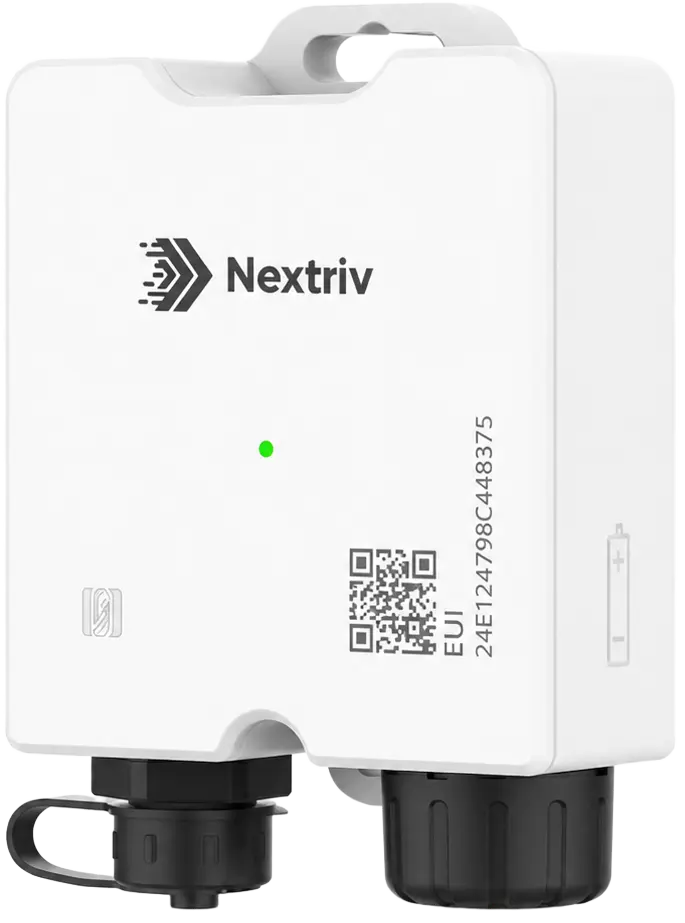
For refrigeration equipment, a logger with a detachable probe on a lead and EN 12830 certification works well, such as Nextriv Probe Solo: a food-grade 316 stainless steel probe goes inside the chamber, and placed in a thermal buffer it tracks the temperature of the product, not the air — door openings stop generating false alarms. Which ranges to apply for individual product groups, we've collected in the food storage temperature table.
The core of raw materials, not just dishes
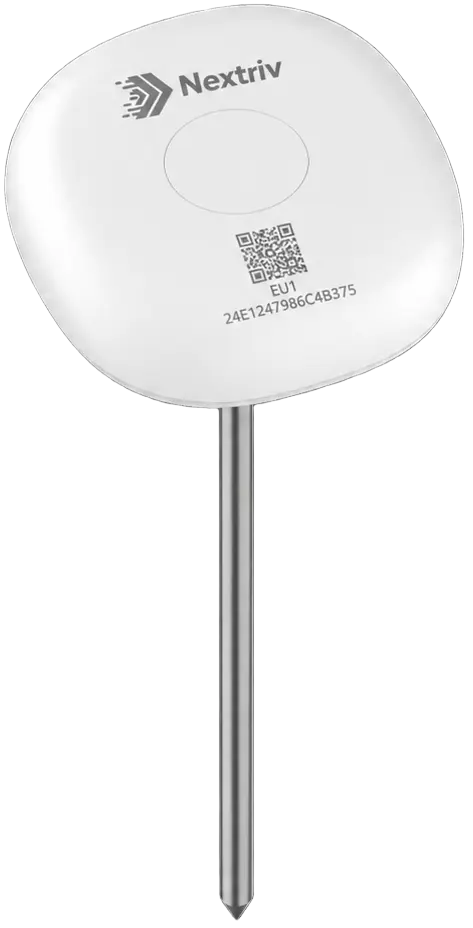
The rule "measure the inside, not the surface" also applies to the raw material backroom. Bags and piles of bulk materials — flour, grain, feed components in a processing plant — heat up from within, and a thermometer on the warehouse wall won't see it. This is where Nextriv Probe Food works: a 40 cm food-grade 316 stainless steel spike with a radio transmitter in a single housing, driven deep into the stored material. It measures across −30…+70 °C, alarms not only on threshold breaches but also on a sudden change in the reading — the signature of self-heating — and runs up to 10 years on a single replaceable battery. A raw material that's starting to spoil gives itself away with a temperature rise deep inside, long before any smell.
The record that closes the HACCP loop
The strongest documentation comes from combining both worlds. Manual core measurements remain a human duty — a short one, because well organised. Everything else in the chain goes to the platform: sensors measure around the clock, every threshold breach opens an event with an ALM code, statuses and team comments, and PDF reports with charts plus XLSX/CSV exports add up to a register nobody has to fill in from memory in the evening. Raw measurement history reaches a full year on the free plan and up to 5 years on the paid one — no notebook remembers that much.
The platform also watches itself: a sensor that goes silent for twice its reporting interval is marked offline and generates a notification — the system tells "the temperature is fine" apart from "we have no data". Alerts arrive through a channel the kitchen actually reads: email, SMS, web push or an audible alarm in the app, and thresholds are set separately for each chamber and metric.
What this looks like at the scale of a whole venue — from goods receipt through the cold rooms to the pass — is shown in the solution for food service. The free plan (10 sensors, a gateway, 5 alert rules) is enough to start in a small kitchen: you'll find the details in the pricing, and you can see working supervision with alarms and a report in a short demo.


